I’ve been asked to write a blog post documenting how to install Drupal (a rad CMS) using Docker (a rad container management application). This tutorial (or log if you like it) will document my steps as I install this piece of software.
Docker runs best on a Linux computer but Windows and Mac are fine, I guess. I have Archlinux already lying around on my computer. You would then need to install docker, the software containerisation platform. It is as simple as running sudo pacman -S docker on my computer. The package manager takes care of the rest.

Secondly, install the drupal image. This is achieved by running the command sudo docker pull library/drupal:latest. Always be specific with the versioning. By the way, here’s a terminal screencap.

Well, now the image has been installed, it is time to start up the image by creating a new container sudo docker run --name drupal-01 -d drupal:latest. This then runs the Drupal application. It is now time to open the web browser and begin installing Drupal for real, by using a web browser. One cool thing about Docker images is that everything is already done for you, no need to run around installing dependencies such as PHP or Apache. It’s self contained.

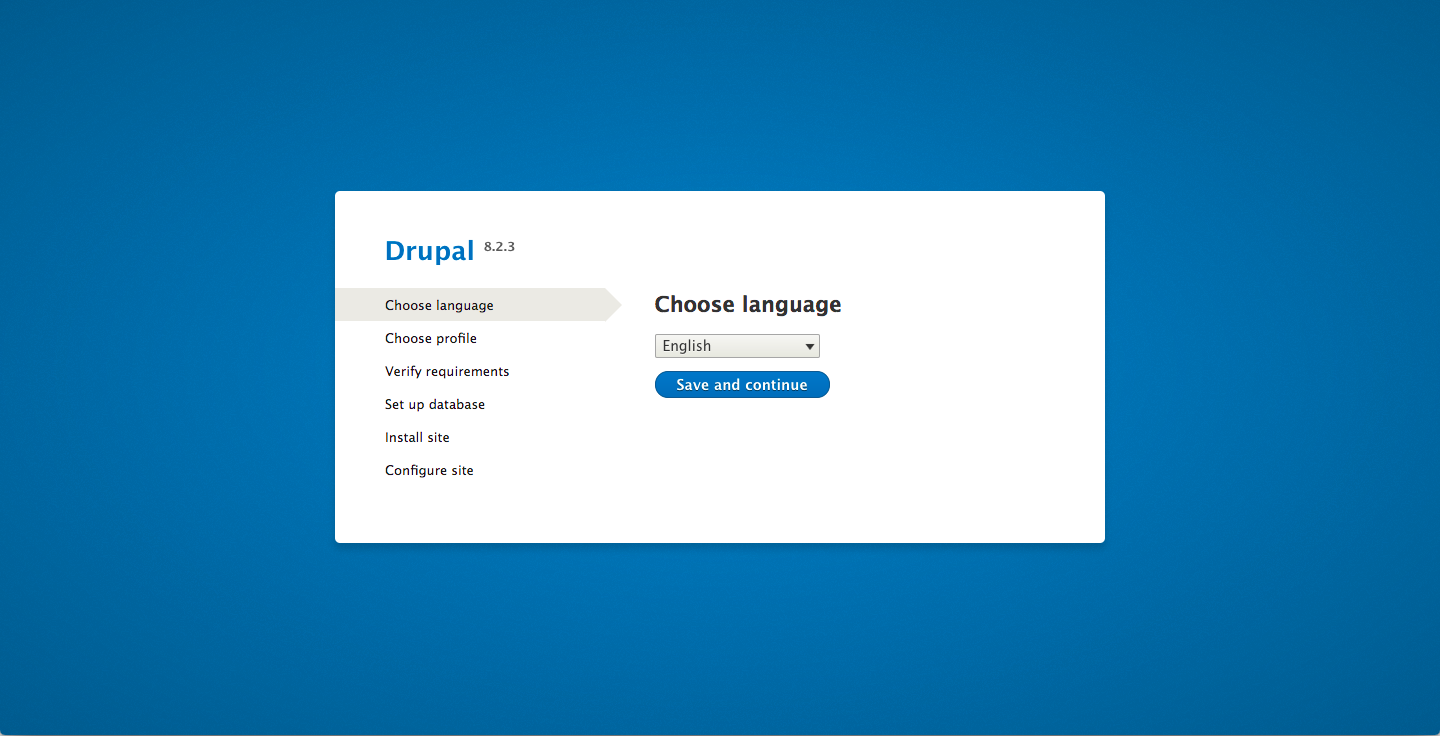
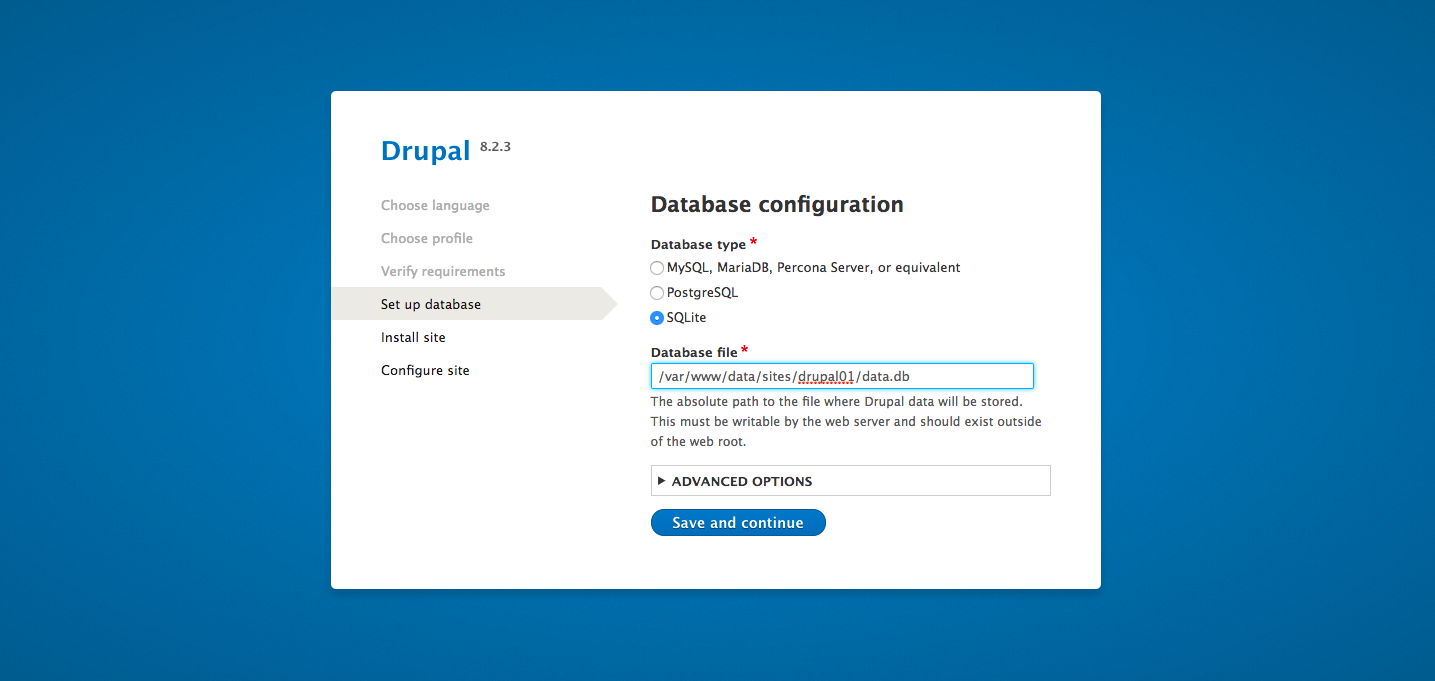
This part is pretty much self explanatory, follow the steps that the interface tells you to. When you get to the database part, click sqlite for an easy installation without having to set up a database.
The print at the bottom of the database dialog suggests that you create the database outside of the webroot, while still making it writable by the webserver. This meant that I had to log into the docker container by sudo docker attach drupal-001 bash. This put me straight into /var/www/html. It was just a matter of creating /var/www/data, and setting all rights to www-data by using chown -R www-data:www-data /var/www/data. Below is a screencap of the terminal, as well as the dialog. Now it is secure as the database is no longer in the webroot, but outside of it, so the database could never be served to users.


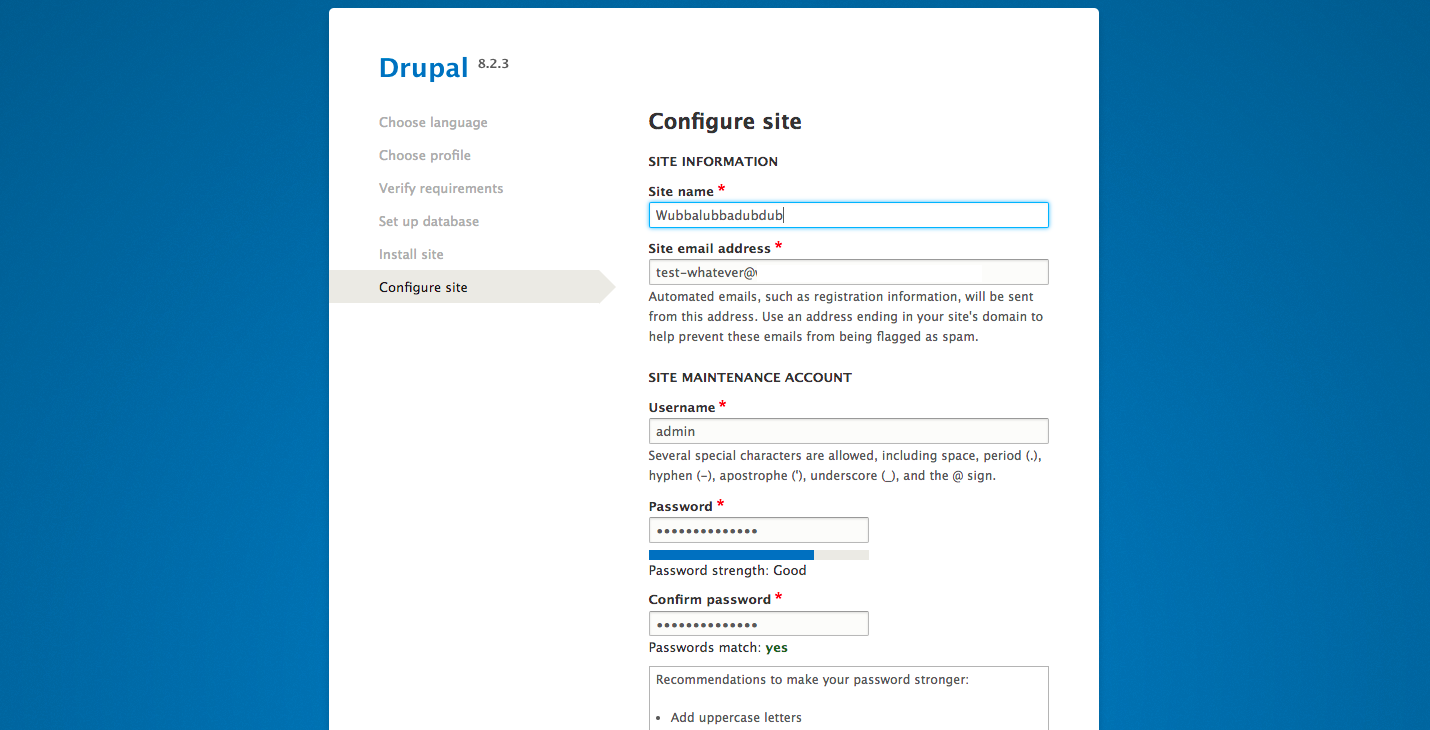
After you pass that, click through the other menus, and then wait until it finishes installing. Make yourself comfy, as this part takes a really long time for some reason (10 minutes long) as it installs 40 modules. It’s the slowest webpage I’ve ever seen. After this process is complete, you will then be able to configure the website. This is where you pick the site name and configure the admin user. Don’t worry you can change things later, but remember the password.

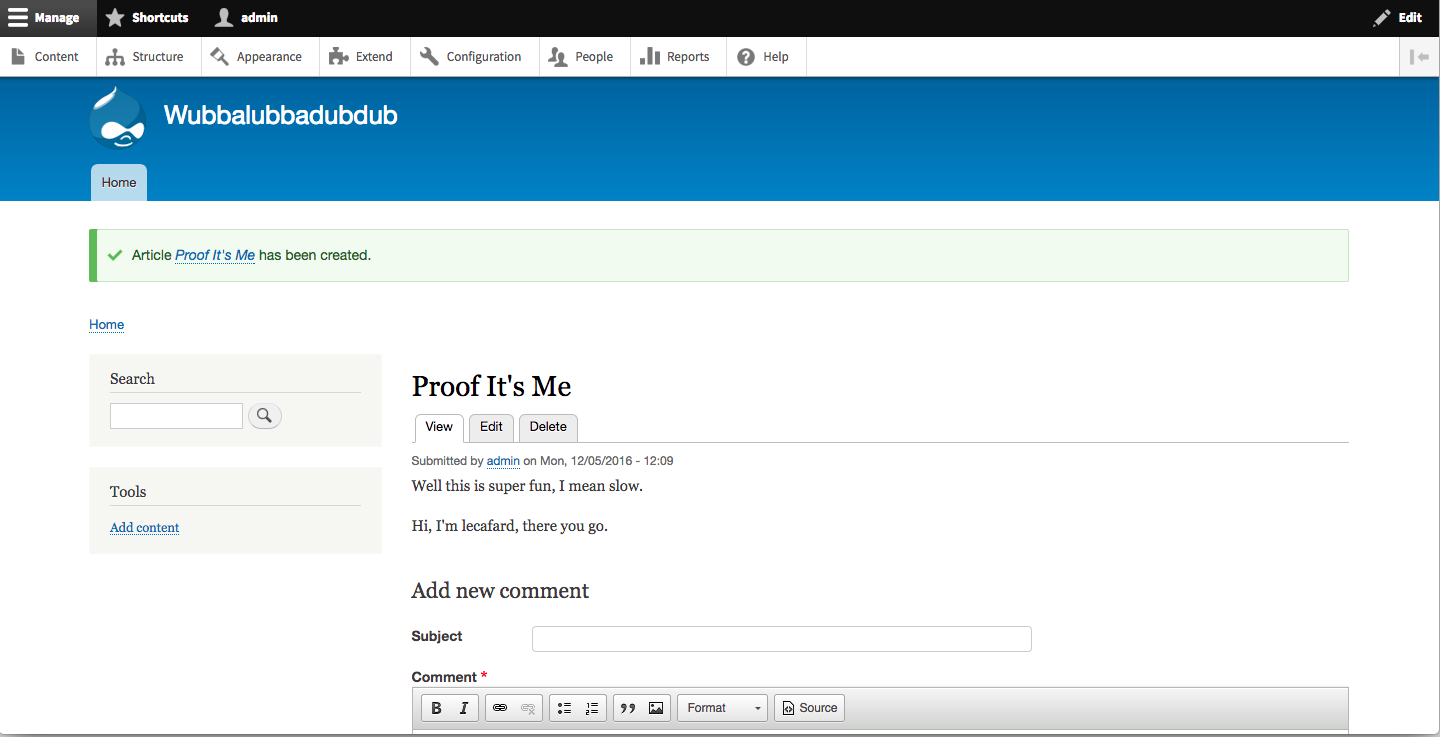
Woo-hoo, I’m finally done installing. Great choice of site name right? Anyways here’s the final product.

Well there you go, Drupal is finally installed on Docker, and I think I’ve finished the task for now.